


I’ve been meaning to work on this site for a while. I even picked up vanity .io and a .wtf domains. Until reciently they just pointed to a GitHub Pages repo. My hand was forced when I had to unexpectedly migrate a small website from one provider elsewhere. Long story, it involves a Nonprofit I’m involved with and needing a cheap/free solution. I figured that process would make for a cool blog post and force me to work on this site.
I’ve been using Jekyll durring my day job, but @rdegges has jumping up and down talking about how great Hugo is. I agree! Let me pass on the Kool-Aid.
Hugo is a super fast static site generator (written in Go if you are missing the pun). Like it’s cousin Jekyll, Hugo’s sweet spot is creating web sites for a blogs, conferences, documentation, or similar. Where Hugo really shines is speed and ease of use. Let’s get going.
Want to skip the fun and just see the code on Github? bdemers/example-hugo.
Install Hugo
The first step of course is to install Hugo and create a new project. The Hugo quick start is a great resource, I’ll just summarize here.
# Assuming you have a Mac and [Brew](https://brew.sh/)
$ brew install hugo

$ hugo new site new-project-name
$ cd new-project-name
After that you can start the service with:
$ hugo server -D
Then browse to: http://localhost:1313
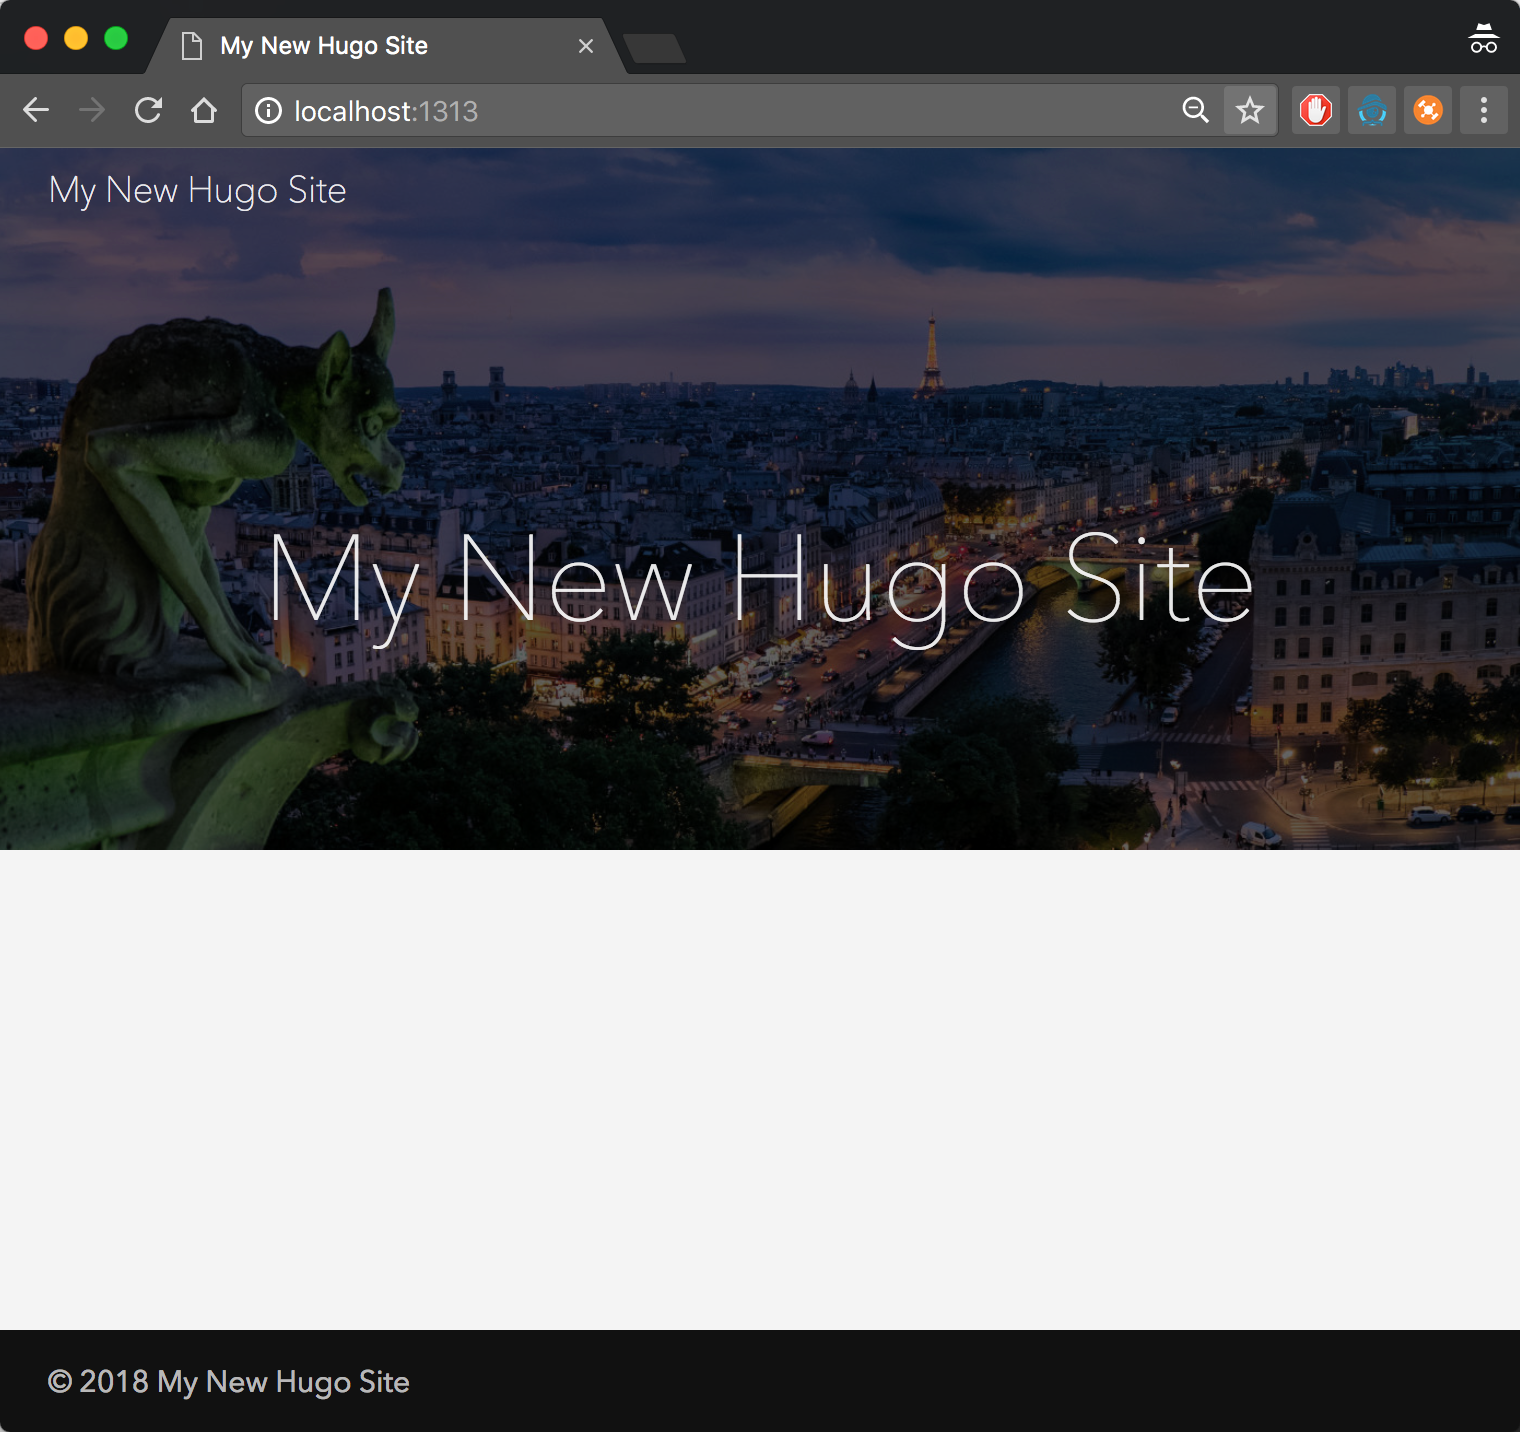
Done! Well… You will see an empty page, we don’t have any content yet and we don’t have a theme.
Add a Theme
A Hugo theme is basically a collection of templates used to render your content. Typically, a theme is just a git repo and are pulled in with git submodules. In general I’m not a fan of submodules, but this might be one of those places they work out (we will see). I suggest starting with the gohugo-theme-ananke theme once you get some content rendered you can spend some time (analysis paralysis) digging through all of the themes. Hugo makes it really easy to override portions of a theme, so just find something close to what you are looking for.
# create the git repo
$ git init

# add the theme, note the dest directory
$ git submodule add https://github.com/budparr/gohugo-theme-ananke.git themes/ananke

# add the theme to the config
$ echo 'theme = "ananke"' >> config.toml
NOTE: Not all themes work the same way, some are geared towards blogs some are not.
If we run the site again hugo server -D (just keep it running in the background) and browse to http://localhost:1313 we will see the basic layout!
Add Some Content
Next I’ll add an about.md file:
$ hugo new about.md
This will create a file located at content/about.md, you could also just create the file manually.
You can put whatever you want in the file, I’ll start with a hello world:
$ echo "Hello, Hugo!" >> content/about.md
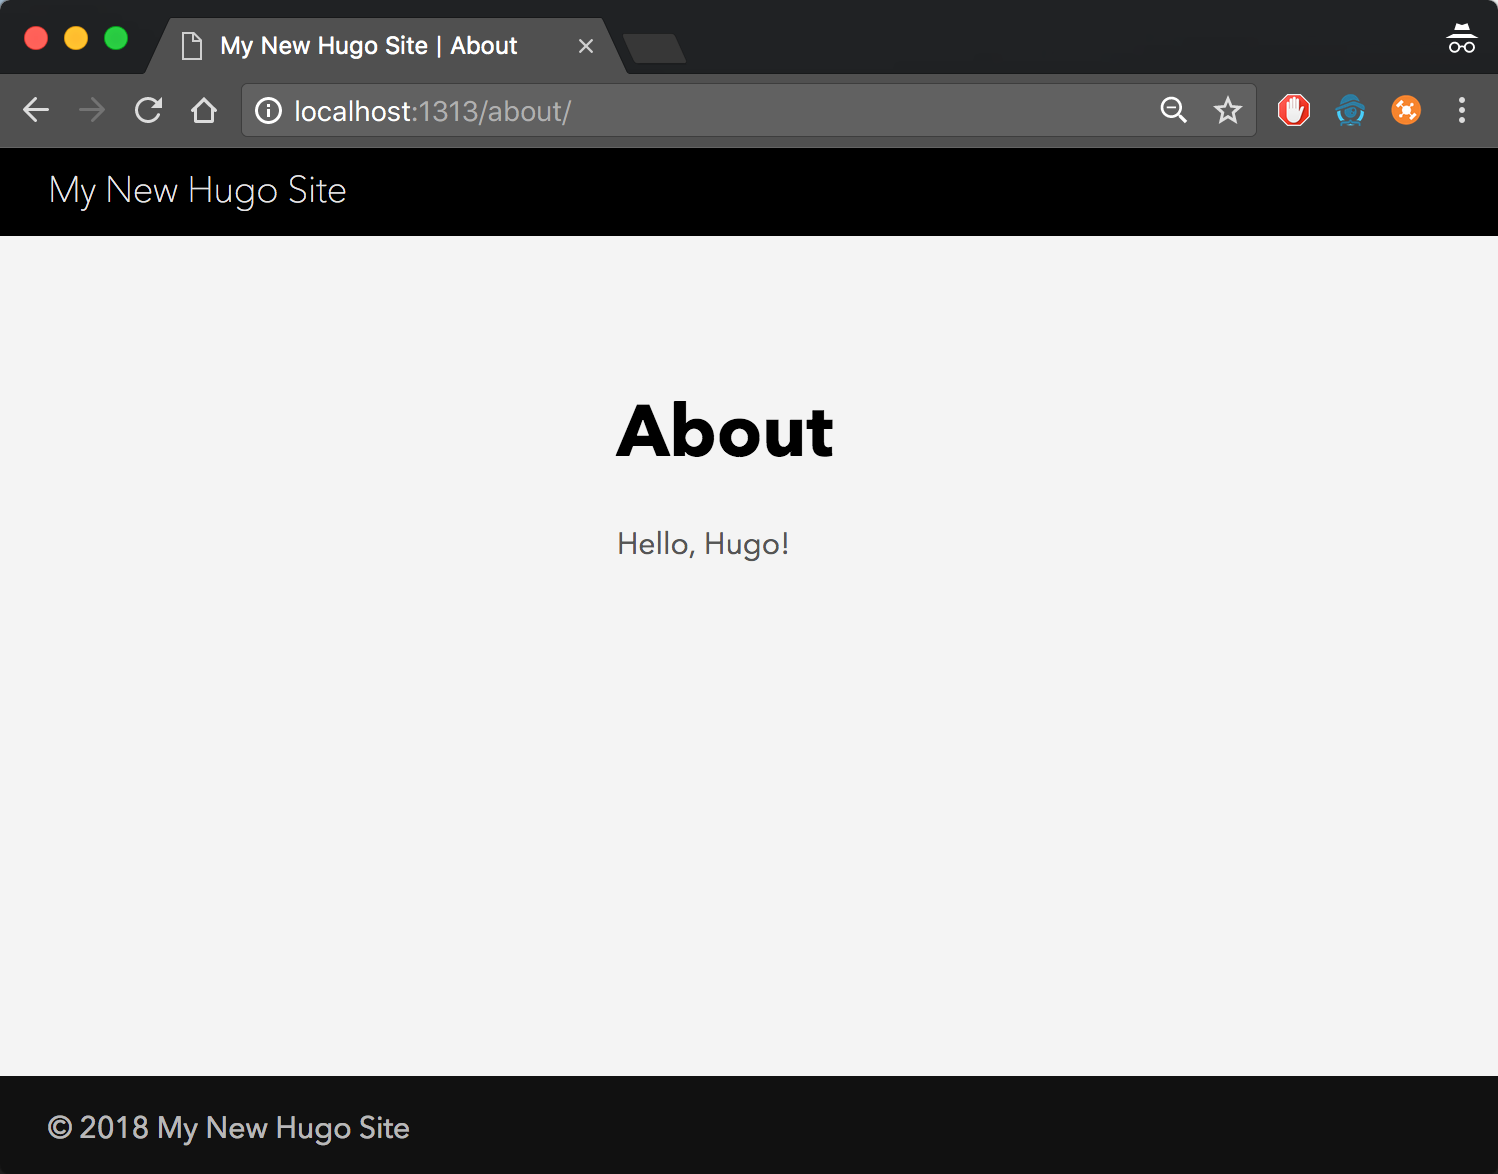
Now browse to http://localhost:1313/about/. If all goes according to plan (and it always does, right) then you should see your page rendered.
Configuration
Now that I have the start of a site, I need to start configuring it.
The config file is in the TOML format which is similar to INI. If you don’t like it you can just convert it to config.yaml. Take a look at the current config.toml:
baseURL = "http://example.org/"
languageCode = "en-us"
title = "My New Hugo Site"
theme = "ananke"
Pretty basic to start with, I’ll need to change the baseUrl and title. Since the About page is just a random static page, I need to manually add a menu item for it too.
baseURL = "http://my-site.io/"
languageCode = "en-us"
title = "My Wizbang Site"
theme = "ananke"

[[menu.main]]
    name = "About"
    identifier = "about"
    url = "/about/"
Take another look at your browser, it should already be updated. The test server you started with hugo server injects a little JavaScript in order to setup up a web socket that will live reload the page. The live reloading seems to work well but I’ve noticed a few hiccups sometimes when changing the config.toml, restarting the sever seems to clear it up.
Add a Blog Post
If you are not working on a blog you will want to choose a different theme. Since you are reading this as a blog post, I’m going to include an example (self documenting blog?).
$ hugo new posts/my-first-post.md
$ echo "Something goes here" >> content/posts/my-first-post.md
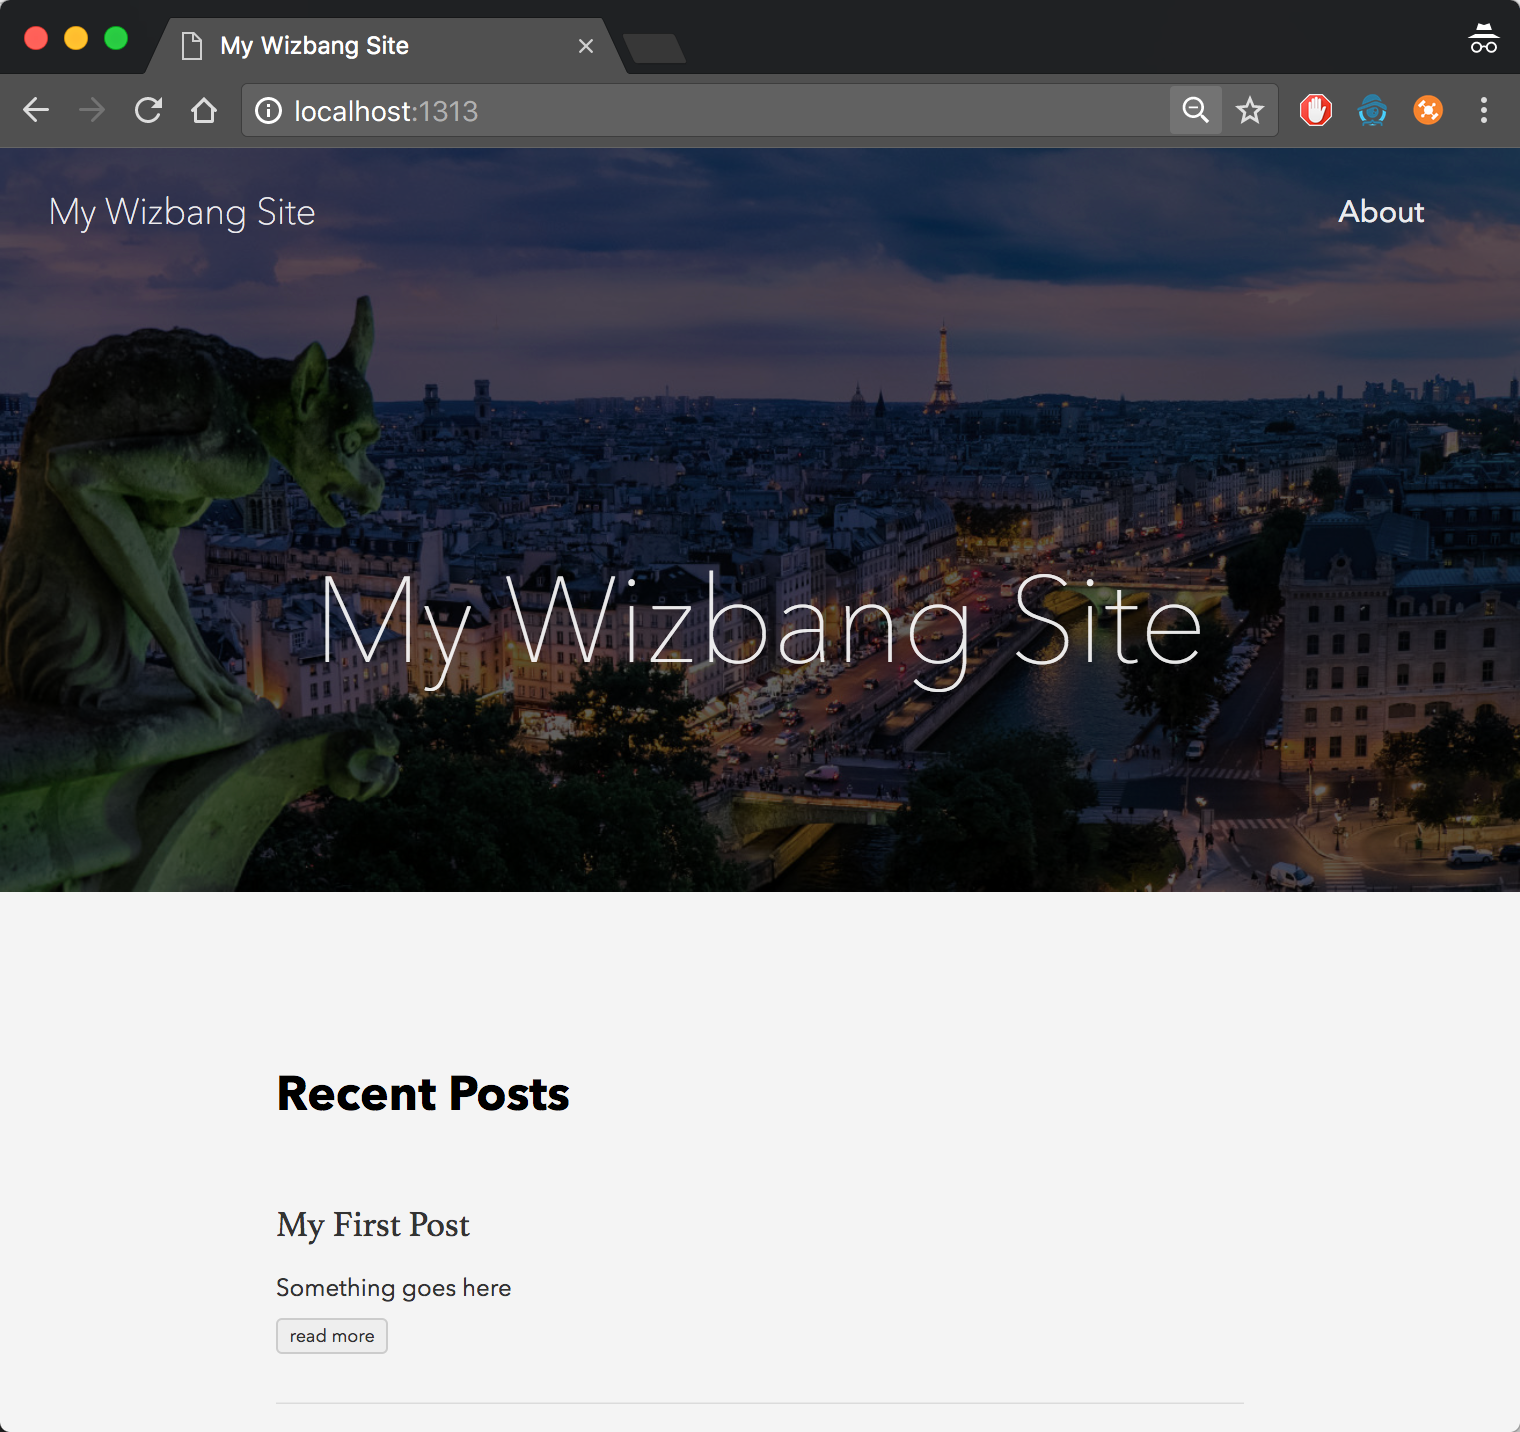
Back at your browser you should see the new page:
Bonus: Hugo Data Templates and Shortcodes
Now that we have the basics out of the way, we can talk about the cool stuff!
Data Templates render data, so obviously we need some data! Create a new file data/games/board.yml:
favorites:
- name: Ticket To Ride Rails & Sails Board Game
  publisher: Days of Wonder
  boardGameGeekId: 202670
- name: Terraforming Mars
  publisher: FryxGames
  boardGameGeekId: 167791
- name: King of Tokyo
  publisher: IELLO
  boardGameGeekId: 70323
There is nothing fancy here, just some YAML.
A shortcodes is a snippet of an HTML template you can embed in markdown. Create a new shortcode file: layouts/shortcodes/fav-games.html:
<ul>
{{ range $.Site.Data.games.board.favorites }}
  <li>
    <a href="https://boardgamegeek.com/boardgame/{{.boardGameGeekId}}">{{.name}}</a> - {{.publisher}}
  </li>
{{ end }}
</ul>
This isn’t earth shattering, you can see we are just rendering an HTML list. To me the formatting looks a funny, so I’ll break it down:
$.Site.Data- the variable referencing all of your data collectionsgames.board- our YAML file name converted to dot notationfavorites- a root key in our YAML file{{ range $.Site.Data.games.board.favorites }}- loops over thefavoritesarray.
Now for the magic!
Update the content/about.md to include the list of board games:
---
title: "About"
date: 2018-01-25
type: page
---
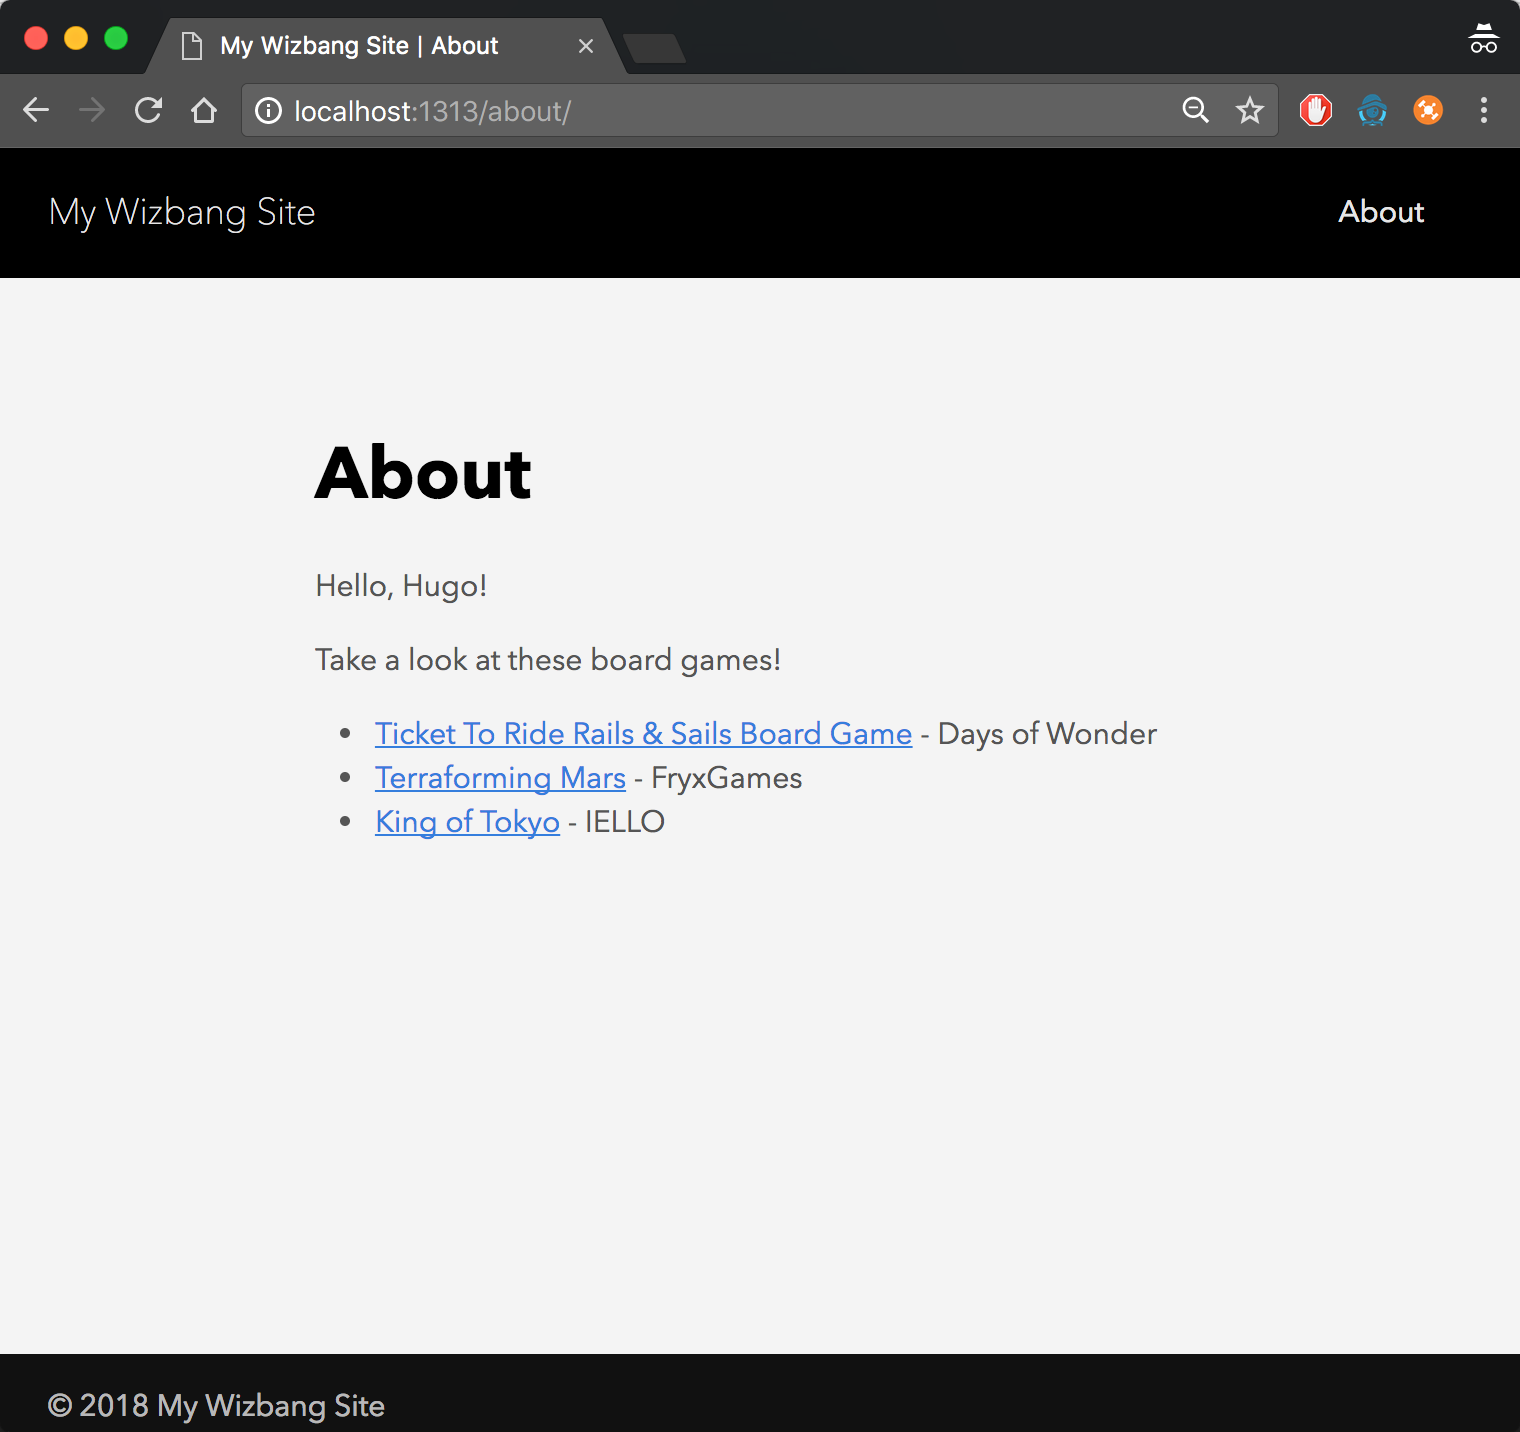
Hello, Hugo!
Take a look at these board games!
{{% fav-games %}}
Boom! I just added a single line to render the list of games. Hugo automatically converts the file names to variables and looks up the shortcode file, no extra configuration or scripting needed. Convention over configuration!
Wrap up
In this post I’ve just scratched the service of Hugo, you can dig a deeper in the official docs. Next time I’ll walk through publishing the site and a CI workflow.
Share this post
Twitter
Facebook
Reddit
LinkedIn